


How to Pluck a Lace Front Wig by Yourself?
How to Pluck a Lace front Wig without help from anyone else? Hi Ladies, Here Ishowbeauty depicts an exceptionally definite advance on the most proficient method to pluck and modify the lace wig, it likewise can use for lace frontal, lace front,360 lace front-facing, and so on wigs, we need to pluck it first before establishment to make a characteristic hairline and get a characteristic looking. It appears to be an exceptionally straightforward advance. Notwithstanding, it is a truly extreme errand for fledglings. It needs more tolerance and caution; else, you may demolish the hairline.

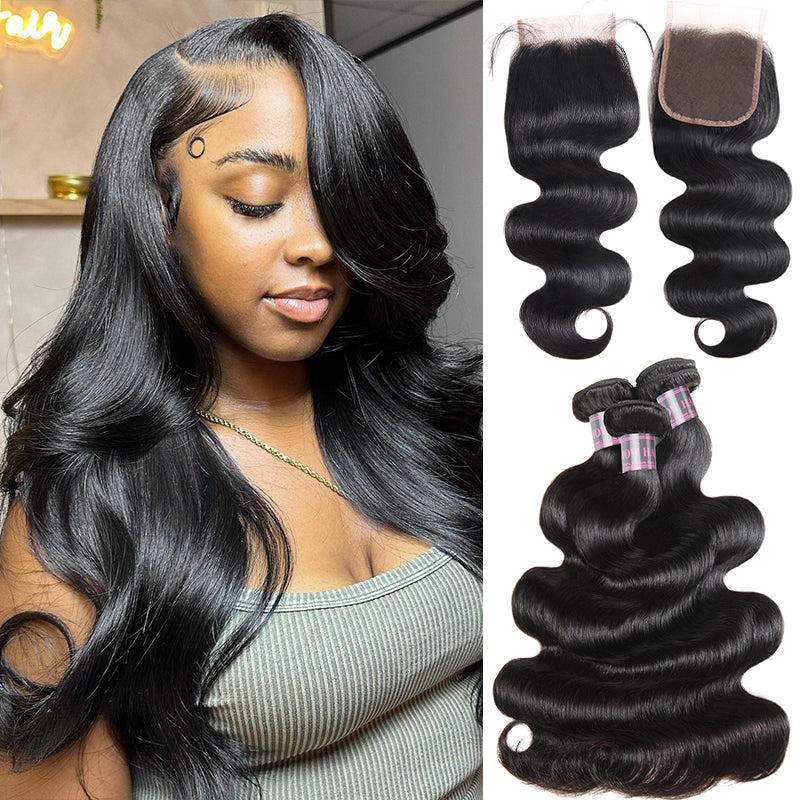
A plucked lace wig is perhaps the most loved decision and there are numerous purposes behind that. Pre-plucked lace wigs have hairlines that are dainty giving them the appearance of a characteristic hairline. Indeed, many Lace Wig and Hair's full lace wigs available that are pre-caused will to ordinarily include pre-plucked hairlines.
Assuming you were hoping to purchase a human hair lace front wig, visit Ishowbeauty.com

What Is A Pre-Plucked Wig?
A pre-plucked wig implies that your wig will have a characteristic hairline and the child's hair has been plucked.
On the off chance that the hair on the hair isn't plucked, the specific shade of the wig can consummately supplant and mirror your hair-from the actual hair, the hairline, surface, shading, and style. This is the standard everybody ought to follow.
At the point when a wig is plucked, the thickness on the top is a lot lower, which is actually the situation with genuine hair. On the off chance that you take a gander at your strands, you will see hairs of inconsistent length and some short infant hairs around your hairline. This is on the grounds that new hairs develop continually, and they can't all be of a similar length.
Why Need To Pluck Wig?
For a wig to be totally sensible, it should impersonate only that. Plucking of the wig makes those ideal infant hairs and a faultless hairline. Albeit pre-plucked wigs are normally more costly, they are basically better in appearance than all others.
Numerous young ladies don't comprehend why we need to pluck the hairline of wigs.
Advantages of a Pre-Plucked Lace Wig:
1) Very characteristic looking
2) Non-wiggy
Things you will require:
You may require a material head, wig stand, butterfly clasps, tweezers, and brush.
Method to pluck your wig
Stage 1: First you need to take a couple of photos of your normal hairline. The most ideal approach to do this is to fix or stretch your hair and maneuver your hair into a tight pigtail. Make sure the photographs are understood so you can utilize them as your guide.
Stage 2: Place the lace wig on a Styrofoam stand and use pins on the lace to nail it down. You need to have it overall quite close with the goal that it doesn't move.
Stage 3: Take a decent glance at the wig hairline, you will see that it is quite thick and that is the thing that you need to keep away from. Begin culling a few hairs from one side and work your way to the next.
Try to utilize quality tweezers and be mindful so as not to cull an excessive number of hairs. It is ideal to cull a smidgen from the outset and perceive what it looks like and in the event that you imagine that the hairline is still excessively thick, return and rehash these means.
Stage 4: Pluck The Lace: Plucking is the way toward utilizing tweezers to cull out abundance hairs around the front-facing to make it less cumbersome. Part the hair on your lace front wig in two areas and take your fave tweezers and begin to cull the hairline towards you to get a more common look.
Stage 5: Create Your Own Part: All lace wigs were not made equivalent. Some accompany a pre-made part down the center, aside, with various parts, or with no splitting by any means (otherwise called a "free part").
With a free-part lace front wig, you will pick where you need your part to lay and make it. You can do this before you make the full wig or after. Simply mess with the splitting, make a great haircut or hold it down for a more modern and in-vogue look.
Stage 6: Create Natural Edges: Adjust your wig in like manner. Remember the child's hairs! For this progression separate a little part of the hair from the hairline that you need to use as a child's hairs. Utilize a razor to trim the hair down until the hair is at your ideal infant hair length.
More Tips:
To begin with, you need to fix your lace wig. Put your lace frontal on the wig head and fix it for certain pins.
With regards to culling, the primary spot is really the hairline by beginning culling one to two strokes, a couple of strokes. At that point brush out the overabundance hair, and afterward, precede onward next area. The following segment is directly behind the hairline, this is the fundamental region we will cull. So you can go a couple of culls, you certainly need to ensure you are continually moving, don't remain at one spot. That is the experience.
When you feel like this segment that you moved away from is acceptable culling, you can take another part. Simply recollect the toning it down would be best when you are culling your front-facing since you can't put the hair taken off on the hairline. There is no genuine request, simply keep your hands and tweezers moving. We truly recommend you can segment it into 3 or 4 sections while culling, continue to move gradually. Brush out the overabundance of hair to see the outcome in the event that you need any serious culling, in the event that you don't know, a butterfly clasp would help. At the point when you set your front-facing hair back, you will see where you need to go for really culling and where some territory just to be left alone.
Simply be mindful, this region is more probable over culling. So if it's not too much trouble, utilize a light hand to forestall it.
At that point remove the top part. Kindly don't cull a lot on the top, simply pluck a bit, pluck a bit, it won't ever resemble the side. Try not to do it excessively; toning it down would be ideal till your hairline looks characteristic and reasonable
So we are completely finished with the principal side, a similar method on the opposite side. So the last thing you need to do is to take some hairspray just to the hairline, at that point take your little hairbrush off the back. That is the all task to cull your front-facing. What's more, here are a few hints:
Try not to cull a lot to keep away from it glances striking around here.
Continue to move your hands and tweezers while culling.
Tweeze the hairline until you have arrived at your preferring and inclination.
Infant hairs ought to be slim and short. Consider how fine your own personal hairline may look.


